Installing and configuring 2FA enabled web managed access solution (jumphost) to any infrastructure deployed on Akamai Connected Cloud Compute - part 1
First, let's start by defining what a "jumphost" is.
Jumphost is nothing more than a server or a collection of servers whose only purpose is to provide a single entry point to different segments of your infrastructure.
A typical configuration is a hardened Unix (or Unix-like) machine configured with SSH and a local firewall. An administrator connects to a target machine in the DMZ by making an SSH connection from the administrator's personal computer to the jump server and then using SSH forwarding to access the target machine.
Using SSH port forwarding or a SSH-based tunnel to the target host allows the use of insecure protocols to manage servers without creating special firewall rules or exposing the traffic on the inside network.
Software components used:
- Cockpit web interface for server and user management
- Google Authenticator plugin
- Yubikey (optional) - not covered in this article
- Termius as our SSH client (any SSH client which supports 2FA will work as well)
Akamai Connected Cloud Compute components used:
- 1 x Nanode for jumphost
- Some server or service deployed. In this example, I'll be using MySQL database.
- Linode Firewall
- VLAN (optional)
What will you need?
- Phone with Google Authenticator app installed
- SSH private and public key.
How does it work?
In a nutshell, this approach is nothing more than a 2FA enabled SSH tunnel.
Benefits of using this approach is that we can create a tunnel between absolutely any service which talks TCP.
Website - check, database server - check, ssh protocol - check, Redis - check....you get the gist :)
What is Cockpit? Cockpit is a web-based graphical interface for servers, intended for everyone, especially those who are:
- new to Linux (including Windows admins)
- familiar with Linux and want an easy, graphical way to administer servers
- expert admins who mainly use other tools but want an overview on individual systems
How to get it up and running?
Easiest way is to use a provided StackScript.
#!/bin/bash
#<UDF name="HOSTNAME" label="The hostname for the new Linode.">
# HOSTNAME=
#<UDF name="MANAGEMENTUSER" label="Cockpit Management user." default="CockpitMGR">
# MANAGEMENTUSER=
#<UDF name="MANAGEMENTUSERPASSWORD" label="Cockpit management user password." default="ReplaceMeN0w!">
# MANAGEMENTUSERPASSWORD=
yum update -y
yum install cockpit nano wget cockpit-dashboard cockpit-packagekit bind-utils -y
systemctl enable --now cockpit.socket
wget https://dl.fedoraproject.org/pub/epel/epel-release-latest-7.noarch.rpm
rpm -Uvh epel-release-latest-7.noarch.rpm
yum install google-authenticator -y
#Create user
pass=$(echo $MANAGEMENTUSERPASSWORD | openssl passwd -crypt -stdin)
useradd -m -p $pass $MANAGEMENTUSER
usermod -aG wheel $MANAGEMENTUSER
#Configure hostname SSH & PAM modules
hostnamectl set-hostname $HOSTNAME
sed -i '/preserve_hostname: false/c\preserve_hostname: true' /etc/cloud/cloud.cfg
sed -i '2s/^/auth required pam_google_authenticator.so\n/' /etc/pam.d/sshd
sed -i '2s/^/auth [success=done default=ignore] pam_access.so accessfile=/etc/security/access-local.conf\n/' /etc/pam.d/sshd
sed -i '/auth   substack password-auth/c\#auth   substack password-auth' /etc/pam.d/sshd
echo 'auth required pam_google_authenticator.so nullok' >> /etc/pam.d/cockpit
echo 'idmsync ALL=(ALL) NOPASSWD: ALL' | sudo EDITOR='tee -a' visudo
echo 'AuthenticationMethods publickey,keyboard-interactive' >> /etc/ssh/sshd_config
sed -i '/ChallengeResponseAuthentication no/c\ChallengeResponseAuthentication yes' /etc/ssh/sshd_config
sed -i '/SELINUX=enforcing/c\SELINUX=disabled' /etc/selinux/config
service sshd restart
#Branding stuff
#Other stuff
systemctl start NetworkManager.service
systemctl start cockpit
systemctl enable NetworkManager.service
firewall-cmd --zone=public --add-port=9090/tcp --permanent
firewall-cmd --reload
shutdown -r now
You will be prompted to enter Cockpit management username, password and a root password for your server.
Create a new StackScript in Cloud Manager using the script below, select Centos 7 as a target image, give it a name, save it and press "Deploy a new Linode" button.
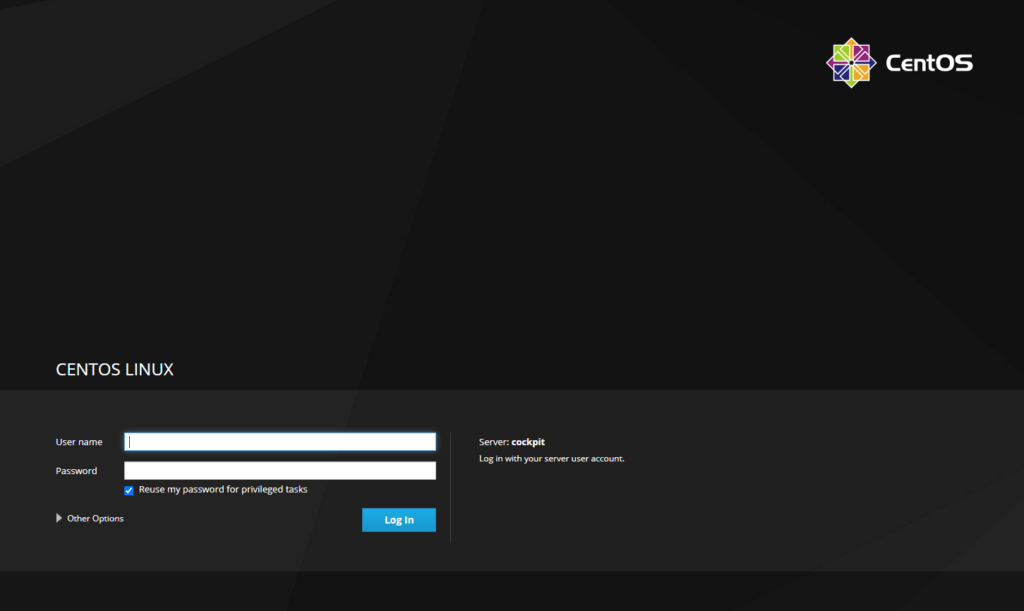
Give it a few minutes, visit the following URL: https://IP_OF_YOUR_LINODE:9090 and you will be greeted with a Cockpit login screen which should look something like this.
In part two we will cover the process of creating users and their 2FA authentication.


Comments