Akamai Application Platform on LKE
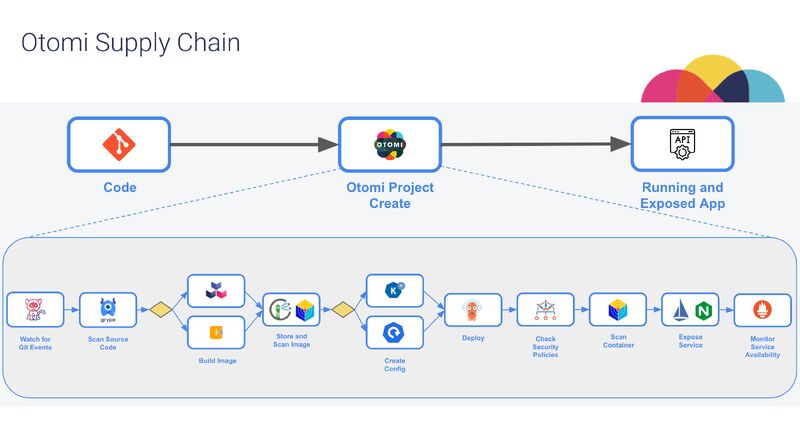
The Akamai Application Platform is a Kubernetes-centric solution that supports the full application lifecycle from development to deployment. It leverages tools from the Cloud Native Computing Foundation (CNCF) landscape, providing an integrated environment for managing containerized workloads.
Optimized for Linode Kubernetes Engine (LKE), the platform enhances automation and self-service, streamlining application management without requiring custom-built Kubernetes solutions.
Let’s get it up and running; like everything I do, we will avoid clickops and use IaC.
I’ve put the entire codebase on Github so you can simply clone it, configure your Linode token and run Terraform apply.
Code will deploy a LKE cluster in Amsterdam with 3 x Linode 8 GB instances and then use HELM provider to deploy Akamai Application Platform for you.
It will also create a DNS zone with the domain specified in the code and configure APL with full DNS integration, meaning you’ll be pretty much ready to go and deploy apps.
Please note that the cluster might scale up in case you decide to deploy a lot of applications.
Step 1 – clone the repository
git clone https://github.com/slepix/ApplicationPlatform-Linode.gitStep 2 – fill out apl.tfvars file
linode_token = "YourLinodeToken"
domain = "yourdomain.com"
region = "nl-ams"
k8s_version = "1.30"
soaemail = "SoaEmail@yourdomain.com"
Step 3 – run terraform plan to verify what will be deployed
terraform plan --var-file="apl.tfvars"Step 4 – run Terraform apply and grab some coffee
terraform apply --var-file="apl.tfvars"After the cluster has been deployed; you can go to Linode console and open the Kubernetes dashboard (you will need to download the kubeconfig file as well).
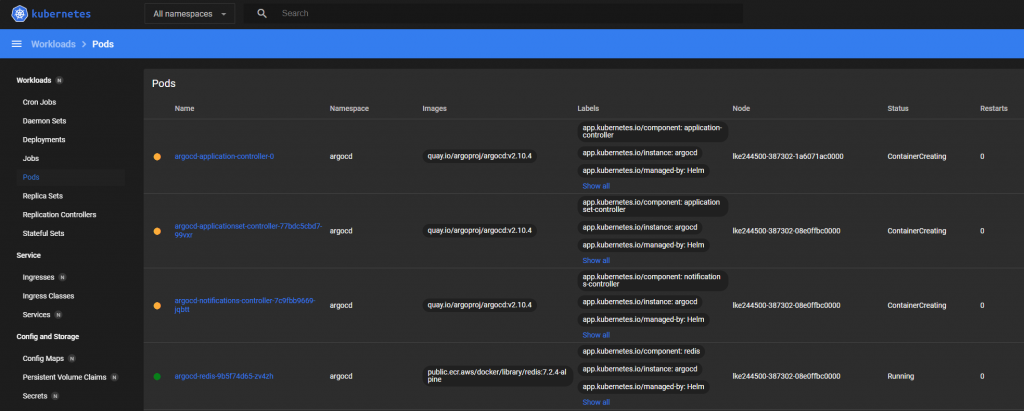
If all went smooth (and it will, because IaC :D), you should see a bunch of containers popping up while APL configures itself.
Click on Jobs on the left hand side and then on the three dots next to “apl” job.
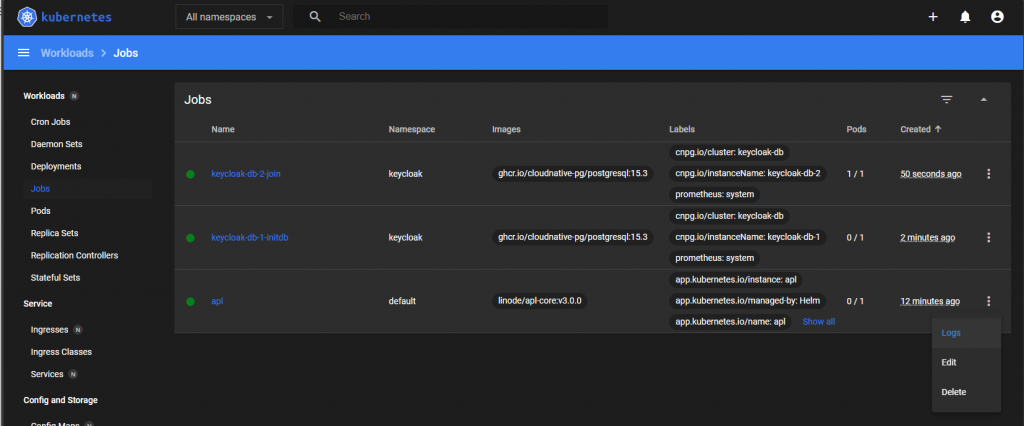
Click on Logs, which will bring up a new window with the logs. Once the installation has completed, you will see the username, password and the URL where you can log in after everything has been set up.
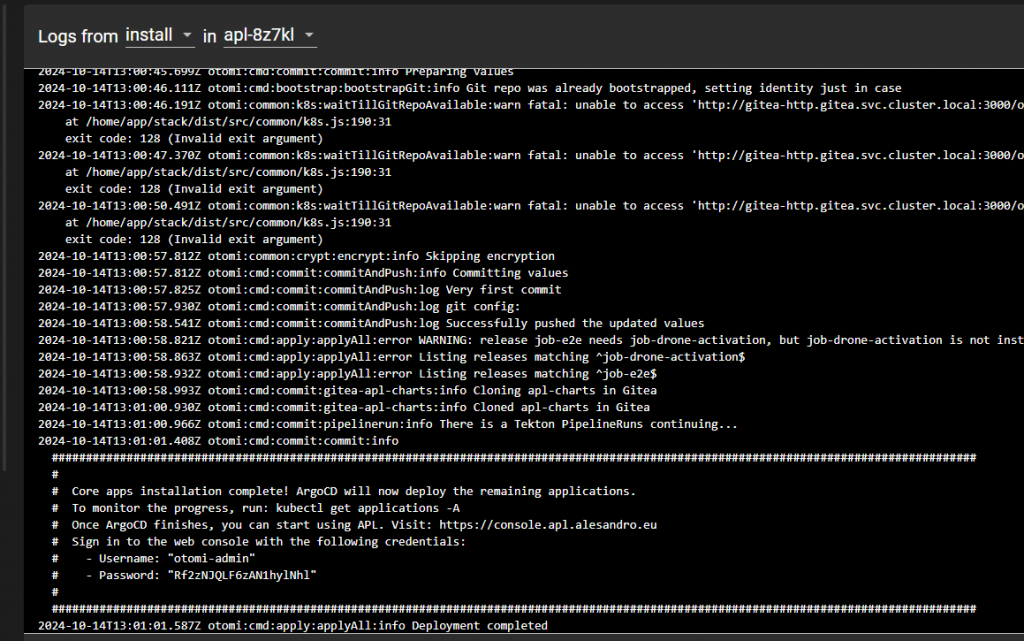
Have in mind that setup will take a good 20-30 mins; there’s a lot of things which needs to be configured in the background for you 🙂
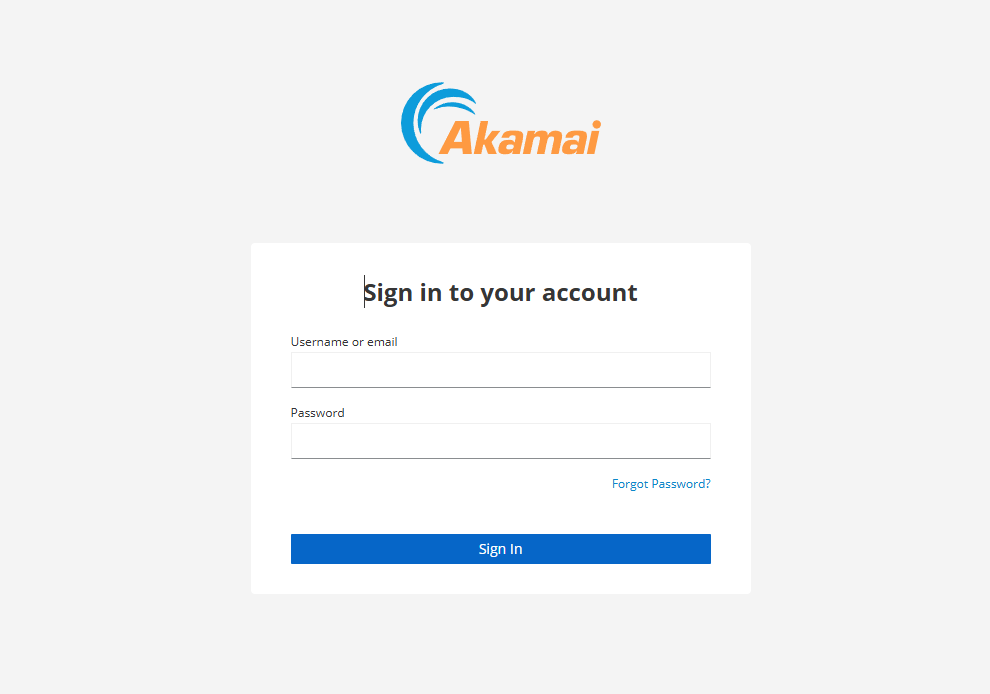
After everything has been deployed, the console website should become accessible. Login with the credentials listed in the logs of your job and you should be presented with the console.
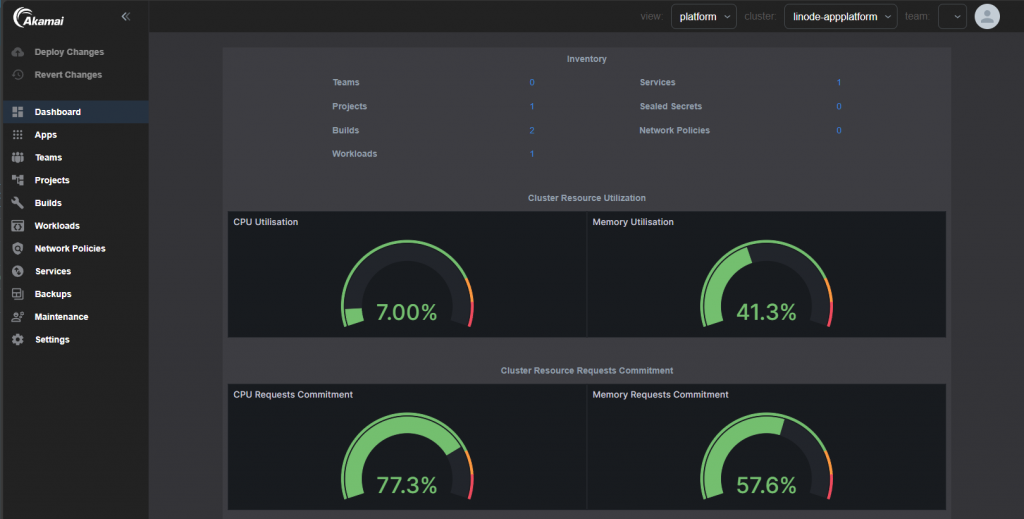
Make sure to follow post-installation steps mentioned here in order to finish the configuration.
Cheers,
Alex!
